
Kotlin Swift - Jetpack Compose iOS, ComposeUIViewController, UIViewControllerRepresentable, UIKitView...
Jetpack Compose iOS, interoperability, ComposeUIViewController, UIViewControllerRepresentable, UIKitView...

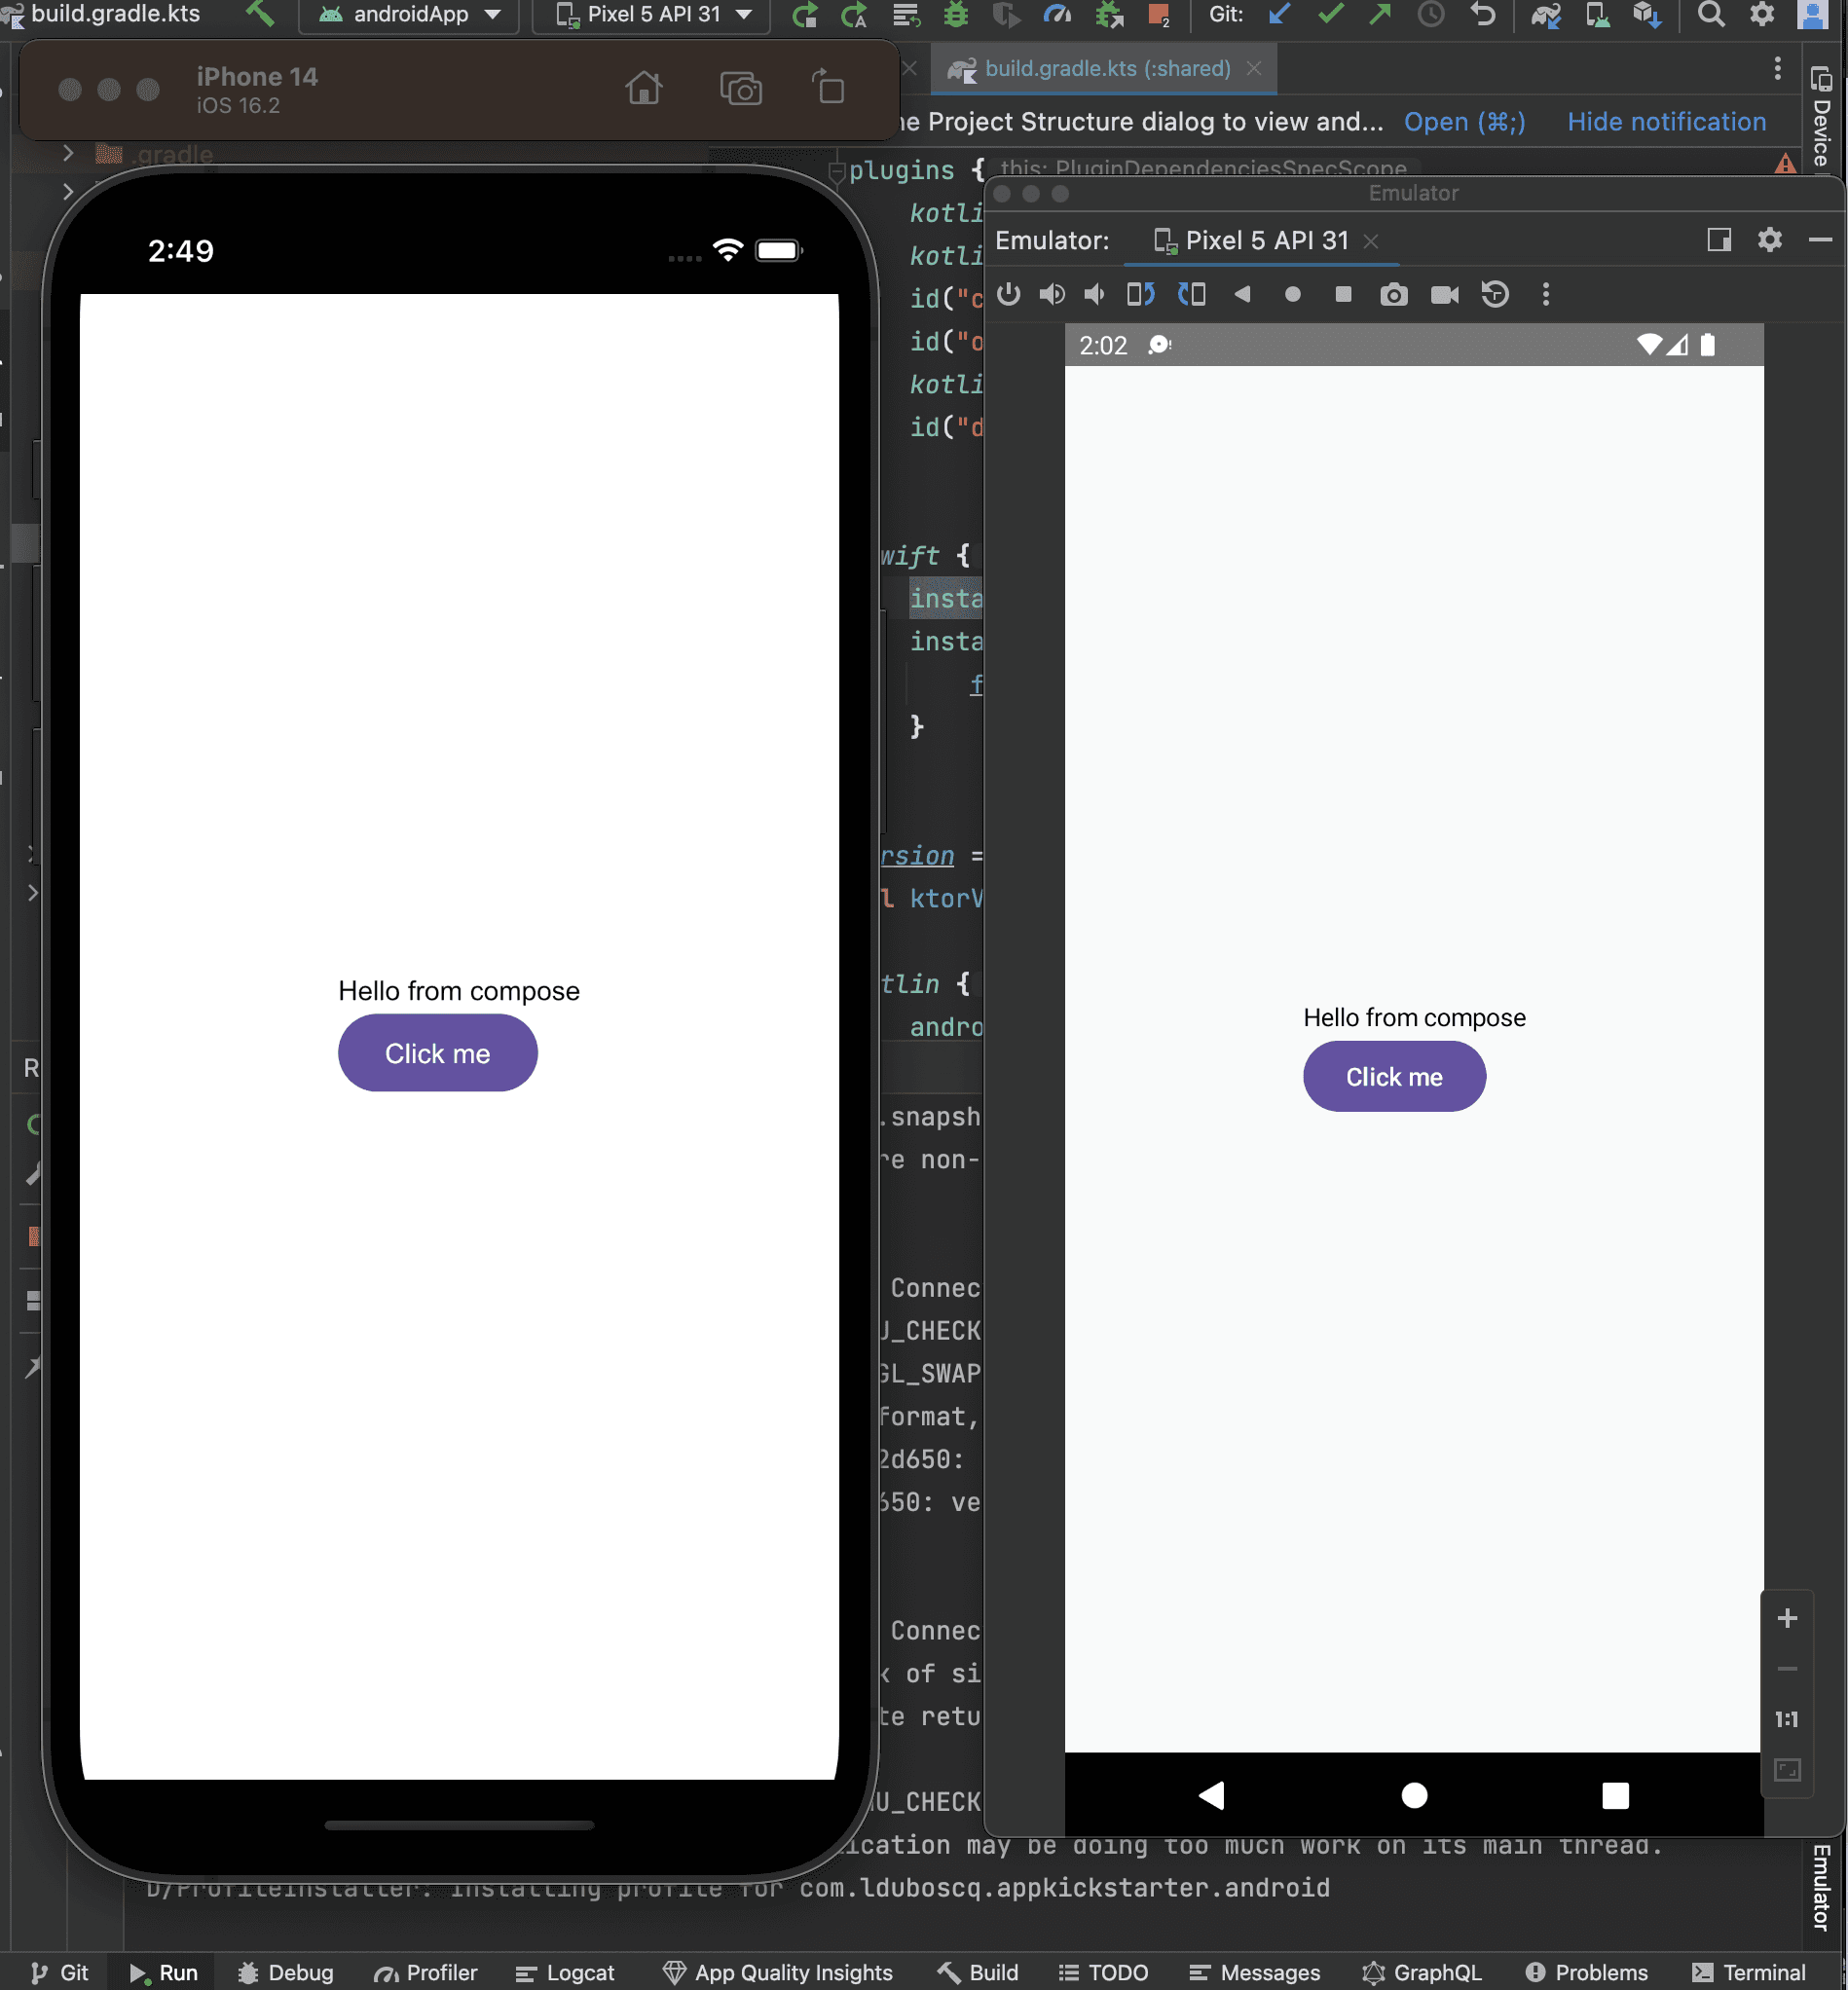
In this post, you’ll learn how to render compose multiplatform composables into SwiftUI for iOS.
You’ll also learn how to create an iOS UIKit component into Jetpack Compose (Compose multiplatform).
Thanks to this guide you’ll master the interoperability in Compose multiplatform and the keywords : UIKitView, ComposeUIViewController and UIViewControllerRepresentable will ne longer have secrets for you.
How the guide is organized
Build the shared ui component
Write specific code in androidMain and iOSMain packages for both platforms
Write the client code (Kotlin MainActivity and SwiftUI) and call our shared UI
Learn UIKitView to write iOS UIKit component into Compose
iOS developers
If you are an iOS developer, you’ll learn Kotlin/Swift interoperability and KMP/Compose multiplatform are not another black box tech to use instead of your favorites tools (XCode, Swift, SwiftUI, etc). We know that because of Xamarin, React Native, and flutter, among others, you’re skeptical. But KMP/Compose multiplatform is the tool to add to your toolbox rather than a replacement for it.
Android developers
If you are an Android developer, you’ll see Compose multiplatform is just a matter of putting the composables in the right place and removing the Android dependencies (Context, permissions, navigation, …).
Before all - Setup
Before all, create a kotlin multiplatform module and add the compose multiplatform plugin (org.jetbrains.compose) and dependencies :
1. Build UI on shared module
Define your screen in the shared module as you would build it in a simple Android Compose application.
Here our screen MyScreen is built and normally can be used in an application. But for iOS, the composable functions can not be called directly, they must be wrapped into an UIViewController. That’s why we use the androidMain and iOSMain packages.
2. Use androidMain and iOSMain packages
On the androidMain module we call the MyScreen composable and before we setup the decor (bottom and status bar to have a beautiful screen) thanks to the accompanist library : systemuicontroller.
iOSMain and ComposeUIViewController
On the iosMain module we wrap our MyScreen composable into a ComposeUIViewController :
That way it’s possible to call it inside the iOS app. The decoration (safe area) will be managed in the iOS code.
3 Client apps
Android
On Android it’s simple. Just call in the android app the exposed screen built in kotlin multiplatform module.
iOS
Doing this, you made a Viewcontroller and you have to use UIViewControllerRepresentable to expose it as a standard SwiftUI component.
Then you simply can call it in your Swift UI component :
iOS UIKit inside Compose multiplatform thanks to UIKitView
There’s a method called UIKitViewthat enables interoperability between UIKit and Compose. It works the same way as AndroidView when you want to transform an Android view (legacy view system) into a Compose component.
For example to use an UITextField in Kotlin you can do this in your iOSMain package :
And to use it in your shared UI in commonMain, as the commonMain package does not have access to iOSMain (the way KMP architecture works), you must create an expect actual function like this :
Expect function in commonMain :
Actual function in iosMain :
Actual function in AndroidMain :
Conclusion
That’s all! You learned to render your first Compose multiplatform component in SwiftUI using ComposeUIViewController and UIViewControllerRepresentable. You also learned how to use your iOSKit knowledge to build iOS inside Compose multiplatform.
If you enjoyed it and want to learn more about building android and iOS apps thanks to KMP and Compose multiplatform subscribe to our newsletter.